Read Happy Endings: Finishing the Edges of Your Quilt Online
Authors: Mimi Dietrich
Tags: #Crafts & Hobbies, #Quilts & Quilting
Happy Endings: Finishing the Edges of Your Quilt (7 page)

BOOK: Happy Endings: Finishing the Edges of Your Quilt
10.62Mb size Format: txt, pdf, ePub
ads

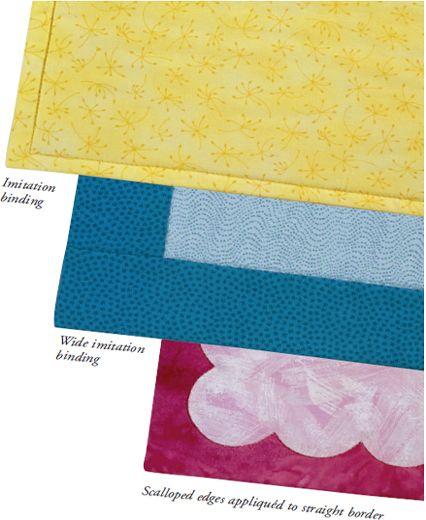
Happy Ending Hint
For a small quilt, the opening should be 6" to 10"; for a large quilt, the opening may need to be as large as 20".

3.
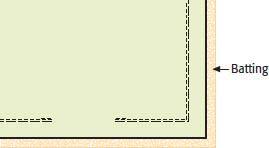
Smooth out the batting on a flat surface and lay the inside-out quilt on top of it. Make sure the quilt top, not the backing fabric, is facing the batting. Pin the quilt to the batting. Pin around all edges of the quilt and batting, letting the batting extend beyond the quilt. The batting will be trimmed later.
Using a basting stitch, sew the quilt to the batting, batting side down. Follow the ¼" seam allowance on the back and leave the same opening as before. Because of the thickness, it’s a good idea to use your walking foot or even-feed foot for this step.
4.
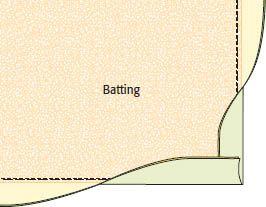
Trim the batting close to the stitching, making sure you do not cut the quilt top or backing fabric. Then to turn the quilt right side out, reach through the opening between the front and back of the quilt. Pull the corners through the opening, one at a time, to turn the quilt right side out. As you turn each corner, fold the two seam allowances over the batting before you pull it out, which will create pointed corners when it is turned right side out.
5.
At the opening, fold the front seam allowance over the batting. Turn the quilt backing under ¼" and pin it to the quilt top. Stitch the opening together using the slip stitch. Or, if you prefer to do the entire process by machine, you can stitch very close to the edge using the straight stitch on your machine.
6.
Before quilting or tying your project, it’s important to straighten it out. A small quilt can be straightened on a tabletop, but a large quilt may require a large floor area and the help of a friend. Tug on opposite sides of the quilt to straighten the three layers of the quilt so that the front, back, and batting lie smoothly. Baste or pin the three layers together before quilting or tying.

Finishing Rounded Corners
Before sewing the front and back together, you can soften the look of the corners on your quilt or comforter by rounding off the square corners. Rounding off the corners works well if your quilt has wide borders or wide areas of background fabric in the corners of the design. However, if the quilt has a definite square pattern in the corners, it will look better if you keep the corners square.
1.
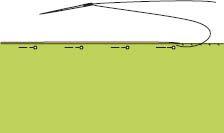
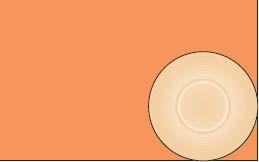
Mark the rounded corners using a round dish. Use a cup for a slightly rounded corner, a saucer for a midsize rounded curve, or a dinner plate for a large rounded corner. Position the plate in one corner on the wrong side of the quilt top. The circle should touch adjacent sides of the quilt.
2.
Use a pencil to draw along the curve from side to side, creating a perfectly rounded corner. Repeat on all four corners of the quilt top.

3.
Using a ¼" seam allowance, sew the front and back of the quilt together as in “Finishing by Machine” on
page 20
, being careful not to stretch your fabric as you sew around the curves.

4.
Trim the rounded corners of your quilt ¼" outside the seam.

5.
Attach batting, trim, and turn right side out.
BOOK: Happy Endings: Finishing the Edges of Your Quilt
10.62Mb size Format: txt, pdf, ePub
ads
Other books
Apocalypse Z: The Beginning of the End by Manel Loureiro
A Comedian Dies by Simon Brett
Sea of Poppies by Amitav Ghosh
Mr Corbett's Ghost by Leon Garfield
No World of Their Own by Poul Anderson
The Best Time Travel Stories of the 20th Century by Anthology
Be My Knife by David Grossman
Garan the Eternal by Andre Norton
Spinsters in Jeopardy by Ngaio Marsh
Carnival of Darkness (FaeTAL Series Book 1) by Becca Moree